Welcome!

Hey
I’m Karolis Raišelis, iOS Developer from Lithuania. I have been building iOS apps for 10+ years now. Worked in multiple companies and also released few apps of my own. I started off just when iOS 7 landed and iPhone 5 was introduced, which was ideal time to start just when iOS had it’s biggest redesign to this day.
My main purpose of this page is to showcase my work and to write about my own experiences and development for Apple platforms. In last couple of years I was mostly leading iOS teams, so I will try to also touch management topics, not just how to round corners of a Button in SwiftUI 😅
Speaking of rounding corners…
This was supposed to be a welcome post, but I guess we can try and learn something along the way.
cornerRadius option
Well, easiest way is probably what would you expect. Calling .cornerRadius(...) will allow rounding views corners.
.cornerRadiushas been deprecated and it might not be available in future OS versions.
1
2
3
4
5
var body: some View {
    Color.blue
        .frame(width: 200, height: 100)
        .cornerRadius(16)
}
This will give us a color with corner radius of 16:

clipShape option
Now a better option would to use .clipShape modifier. This allows to clip to view any Shape you want. For example it can be a Capsule, Circle or RoundedRectangle. This works on any Views. Colors, Images, etc.
Let’s make a Text that has a Capsule shape:
1
2
3
4
5
6
7
8
9
var body: some View {
    Text("Hello there")
        .foregroundStyle(.white)
        .padding()
        .background {
            Color.blue
        }
        .clipShape(Capsule())
}
In the above example we:
- Declare
Text("Hello there")label. - We set text color to white with
.foregroundStyle(.white) - We add a
.padding()to make sure that when we are adding a background, there will be enough space around text itself. - We set a backgound of our
Textview. - We clip whole view to
Capsulewith.clipShape(Capsule()).
This produces a Text view with blue background in a shape of a Capsule:

Rounding image corners
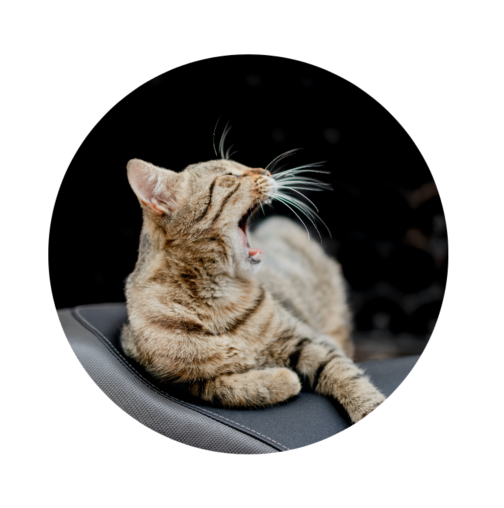
Since previous example might look confusing for beginners, because of background, padding, etc. We can try to round courners of an image. To make a Circle profile photo, to need to do this:
1
2
3
4
5
Image("cat")
    .resizable()
    .aspectRatio(contentMode: .fill)
    .frame(width: 200, height: 200)
    .clipShape(Circle())
- We declare an
Imageview. - We make our
Imageresizable, since we want to change it’s size. - We make the image
fillinside availableframe. - We set our image size/frame.
- We clip our image to
Circleshape.
And the result is:
Conclusion
Well, initially this was supposed to be a post about Welcoming people to the blog. But since I wanted to practice blogging, I just could not resist making my first tutorial. I hope it helps someone at some point.
That’s it for now. Thanks for reading. See ya in the next one!